Creating a new prototype
Use the template on the GitHub website.
You will first need to create a free GitHub account if you do not already one, and sign in.
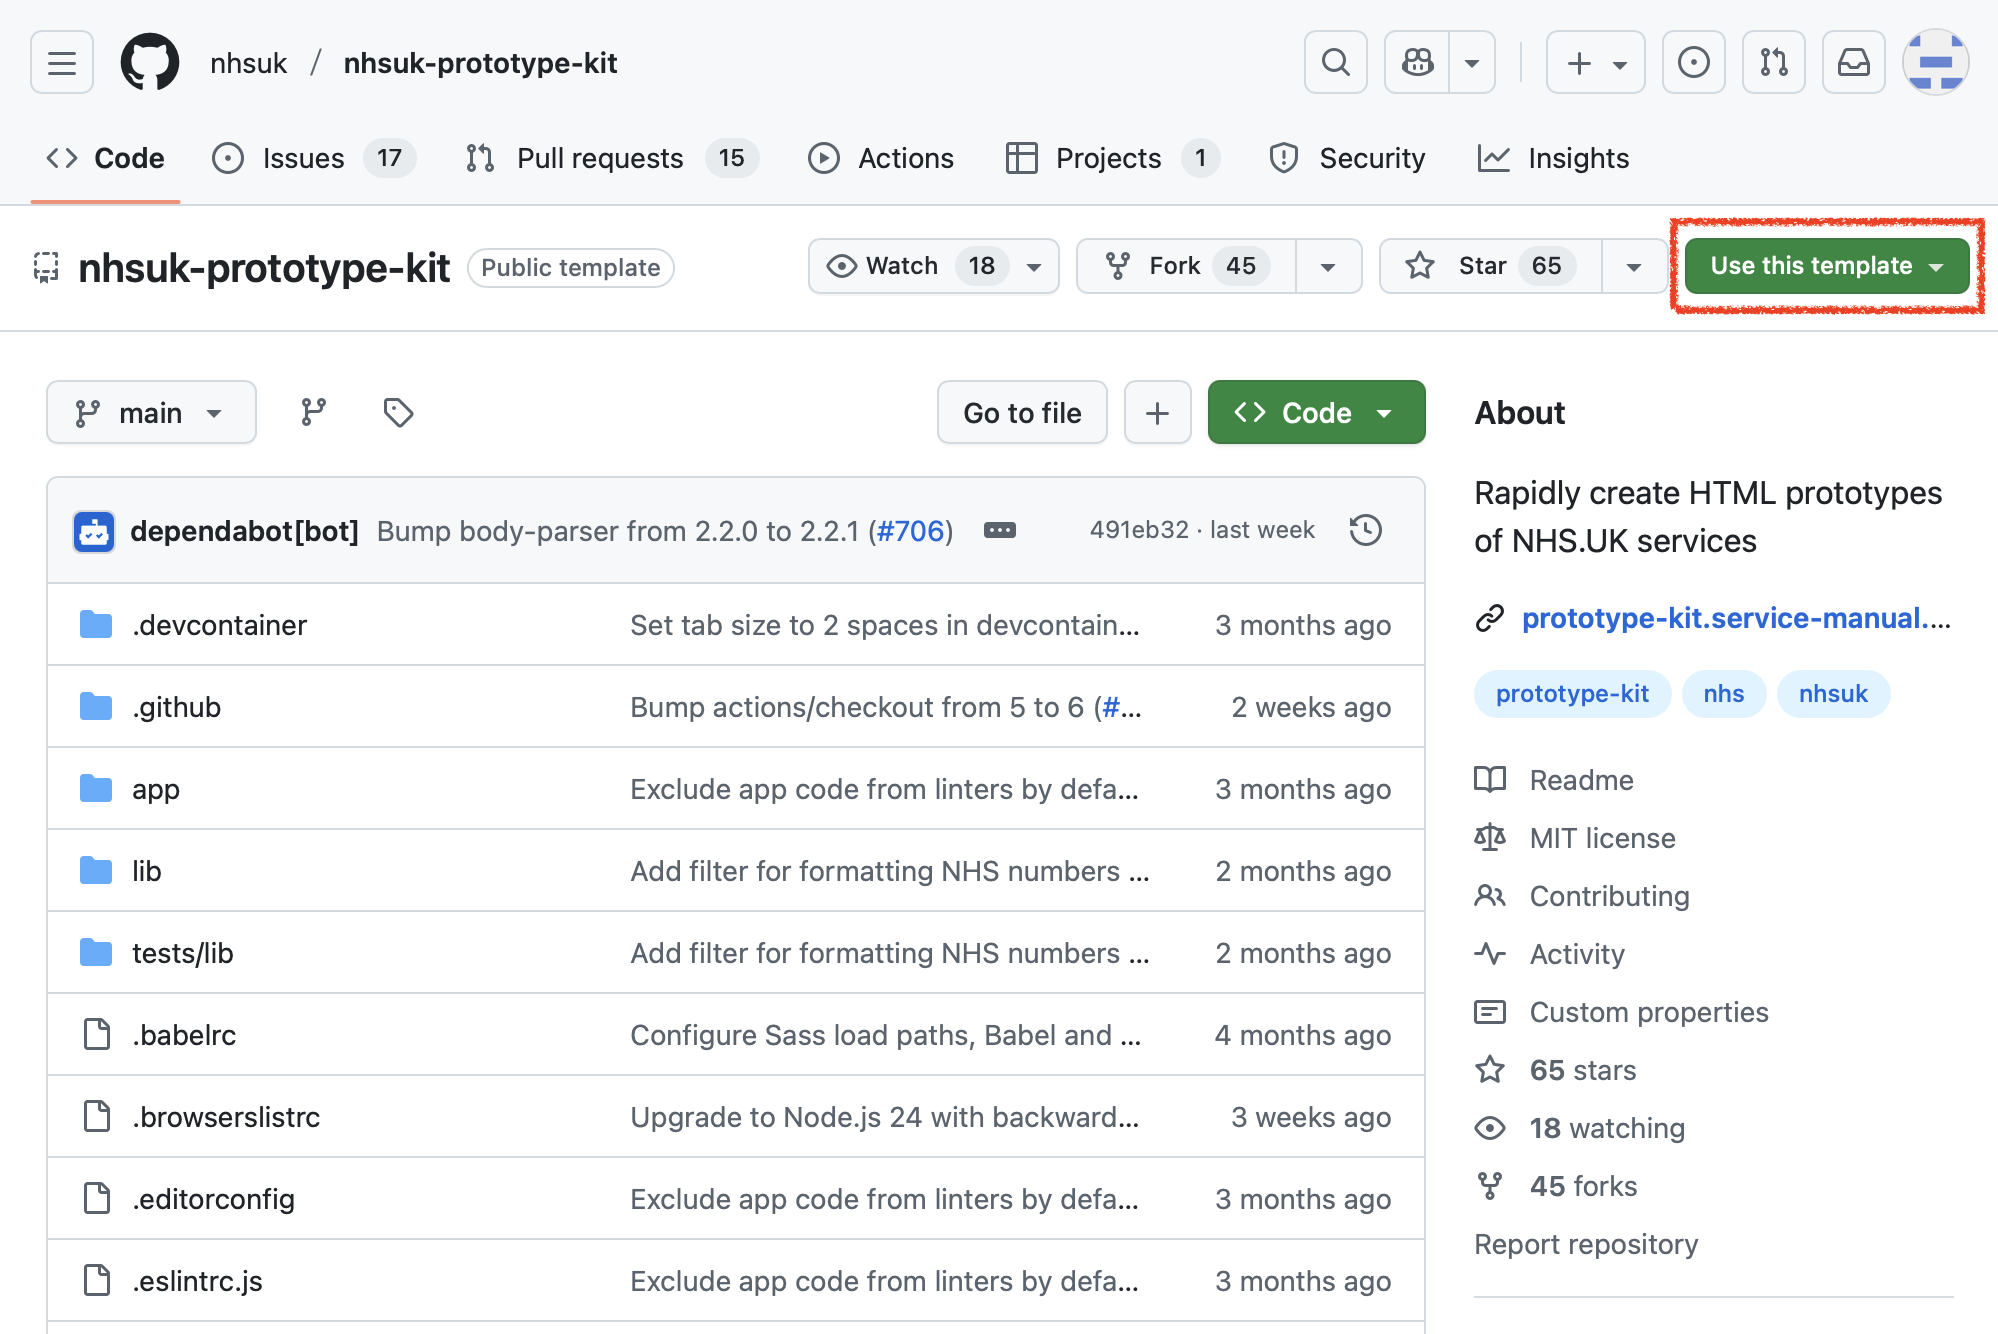
Then visit the NHS prototype kit on GitHub, click the ‘Use this template’ button and select ‘Create a new repository’:
You’ll then be taken to a screen where you can enter some details about your project:
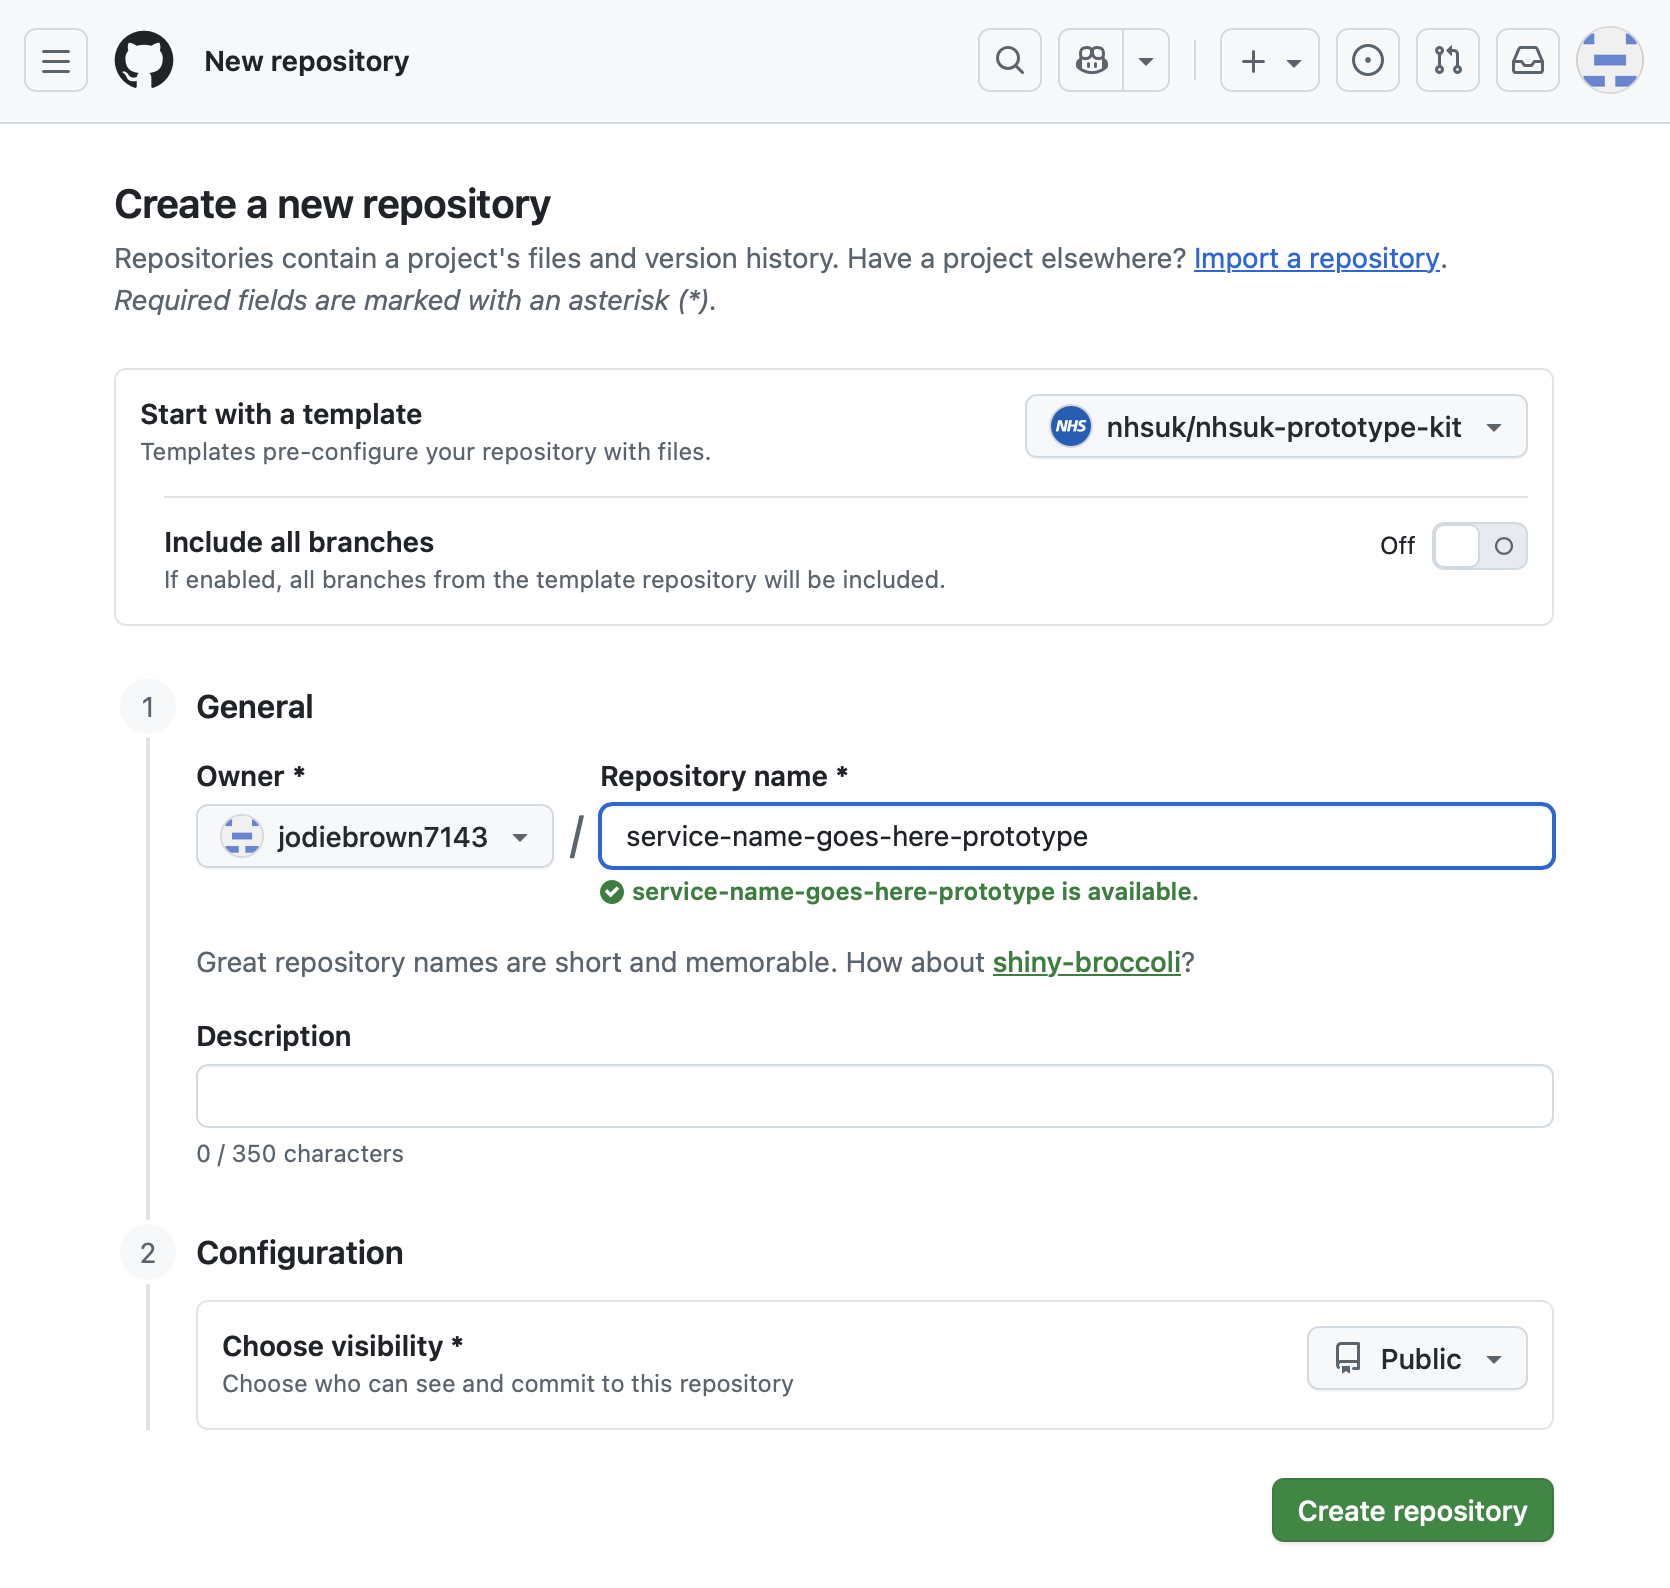
Here’s how to complete the fields:
- Include all branches: leave this in the ‘off’ setting
- Owner: this should be the name of the organisation you are working for. If you have not yet been added to your organisation on GitHub you should ask to be added. If you are just trying the kit out or taking part in training you can set yourself as the owner instead.
- Repository name: this should be the name of the service you are prototyping. You can change this later if you are not yet sure of the name. By convention it is lowercase and uses hyphens instead of spaces. Add the suffix
-prototypeto make it clear to others in your organisation that it is a prototype. - Description: this is optional and you can leave it blank for now, or enter a short description of what the service you are prototyping will do.
- Choose visibility: You can choose to make your prototype code public or private. This can be changed later. By default public sector work should be open source, so make it public unless you expect to have sensitive information in it, for example if it’s related to an unannounced policy.
Click the ‘Create repository’ button when you are ready. This will create a copy of the NHS prototype kit for your new prototype.
You can then run and edit the prototype either on your computer or in the cloud. See Get started for guides to both options.